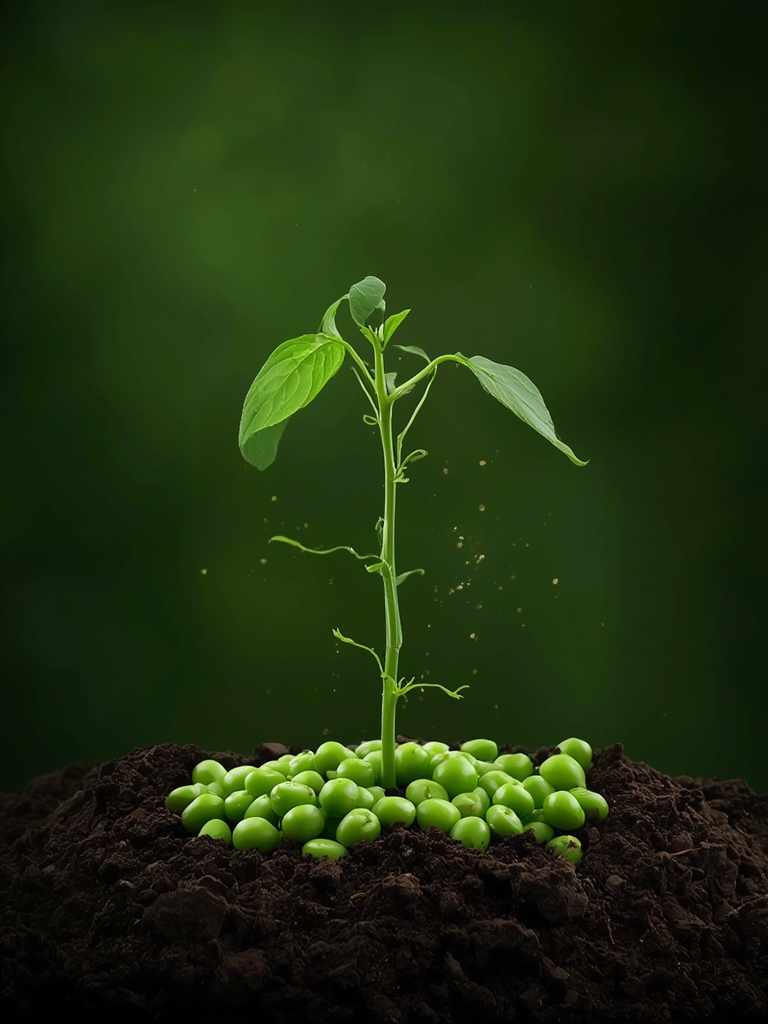
best way to Grow Peas in 60 Days
Have you ever wondered how simple it is to grow your own fresh, crisp peas right in your garden? The satisfaction of harvesting sweet, tender pods that you’ve nurtured from seed is truly unmatched. Grow Peas in your backyard or even in containers on your balcony for a continuous harvest of this nutritious vegetable throughout the growing season.
Table of Contents
With proper timing and care, Pea planting can be one of the most rewarding experiences for both novice and experienced gardeners alike. Let’s dive into everything you need to know to successfully cultivate these delightful green gems.
Materials & Supplies
To get started with your pea garden, you’ll need:
- Pea seeds (choose snap, snow, or shell varieties)
- Well-draining garden soil or potting mix
- Compost or organic matter
- Garden trellis, stakes, or netting (for climbing varieties)
- Garden gloves
- Watering can or hose with gentle spray attachment
- Garden spade or trowel
- Plant labels
- Garden twine (for securing plants)
- Fertilizer (low in nitrogen, high in phosphorus and potassium)
- Mulch (straw or leaf mulch works well)
Timing / Growing Schedule
Peas are cool-weather crops that thrive in temperatures between 55-70°F (13-21°C). Plant them:
- Early spring: 4-6 weeks before last frost
- Fall: 8-10 weeks before first expected frost
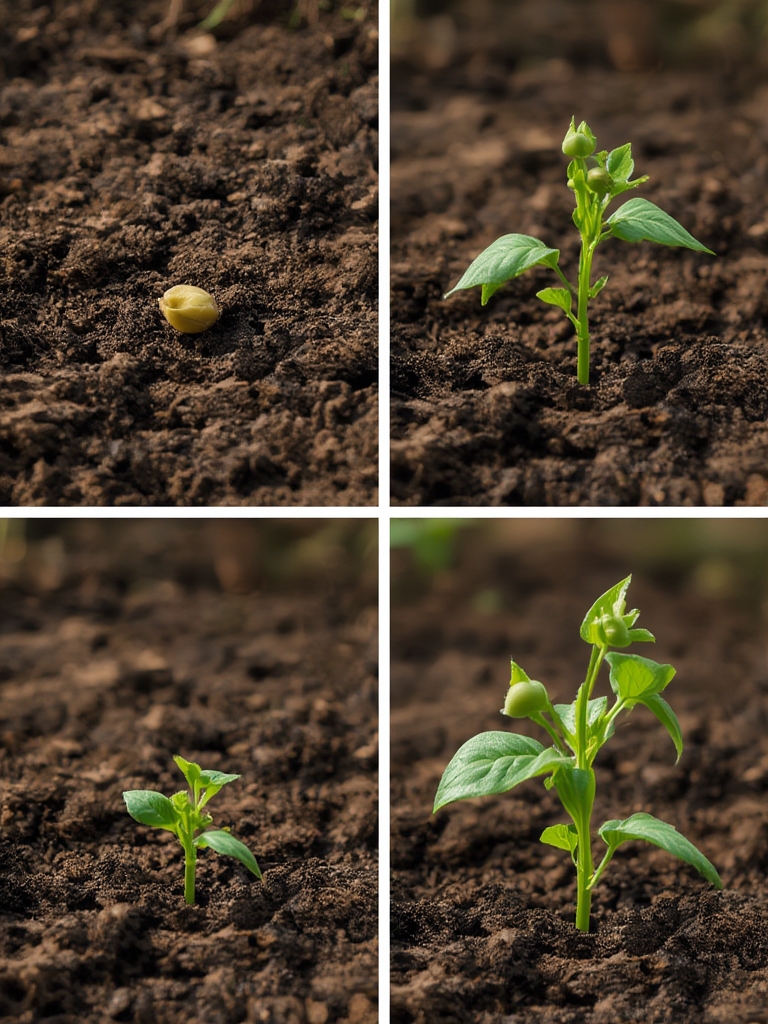
From planting to harvest, expect:
- Germination: 7-14 days
- First flowers: 4-6 weeks after planting
- Harvest time: 60-70 days from sowing, depending on variety
- Harvest window: 2-3 weeks of productive picking
Step-by-Step Instructions
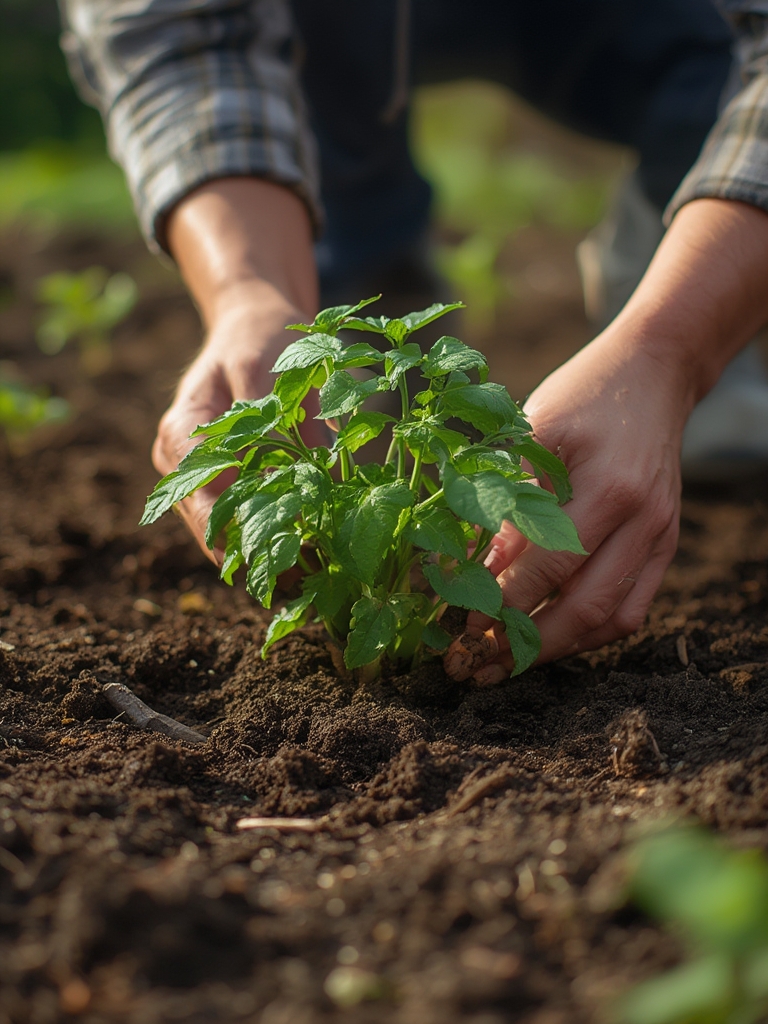
- Prepare the soil: Loosen to a depth of 12-15 inches and mix in 2-3 inches of compost.
- Pre-soak seeds: Immerse seeds in water for 12-24 hours before planting to speed germination.
- Plant seeds: Sow 1 inch deep and 2 inches apart in rows. For multiple rows, space them 18-24 inches apart.
- Install supports: Set up trellises or supports at planting time to avoid damaging roots later.
- Water thoroughly: Keep soil consistently moist but not waterlogged during germination.
- Add mulch: Once seedlings reach 2 inches tall, apply mulch to retain moisture and suppress weeds.
- Thin seedlings: When plants are 4-6 inches tall, thin to 4-6 inches apart to improve airflow.
Remember that successful Grow Peas requires consistent moisture and support for climbing varieties. For Pea planting, ensure you inoculate seeds with rhizobium bacteria if planting in new soil to enhance nitrogen fixation.
Benefits / Advantages
- Nutritional powerhouses: Rich in vitamins A, B, C, and K, plus fiber and protein
- Soil improvement: Peas fix nitrogen in the soil, benefiting future crops
- Early harvest: One of the first vegetables you can harvest in spring
- Space-efficient: Vertical growth means high yields in small spaces
- Kid-friendly: Easy to grow and fun to harvest, perfect for young gardeners
- Versatility: Can be eaten fresh, frozen, or preserved
Tips, Alternative Methods, or Gardening Advice
For container gardening, choose dwarf varieties and use pots at least 12 inches deep with drainage holes. In hot climates, provide afternoon shade to extend the growing season. Consider succession planting every 2-3 weeks for a continuous harvest. In small spaces, interplant peas with slow-growing vegetables like carrots or beets to maximize yield.
Common Mistakes to Avoid
- Planting too late: Peas hate heat, so missing the cool-season window leads to poor yields.
- Overcrowding: Insufficient spacing causes poor air circulation and disease.
- Inadequate support: Flimsy trellises can collapse under the weight of mature plants.
- Overwatering: While peas need consistent moisture, soggy soil leads to root rot.
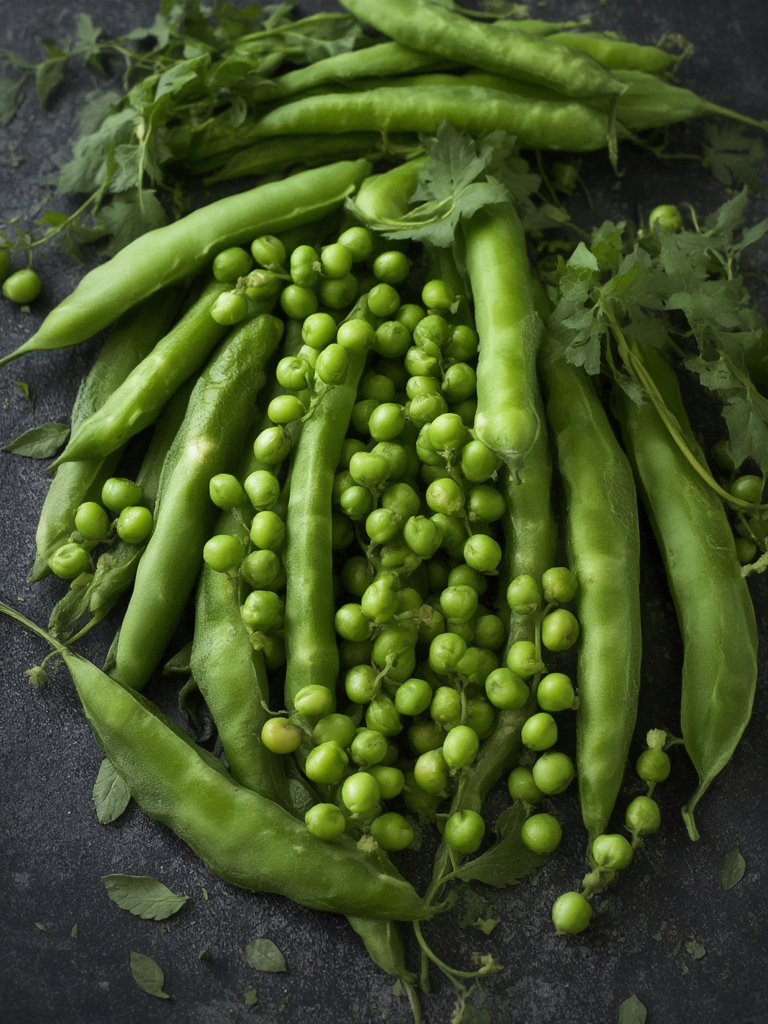
- Harvesting too late: Overmature peas become starchy and lose sweetness.
Maintenance Tips
Water peas deeply once or twice weekly, providing 1-1.5 inches of water. Avoid overhead watering to prevent fungal diseases. Harvest regularly to encourage continued production. Store harvested peas in the refrigerator for 5-7 days or blanch and freeze for longer storage. For succession planting, prepare new areas while existing plants are producing.
Conclusion
Growing your own peas offers multiple rewards—nutritional benefits, improved soil health, and the incomparable taste of freshly harvested pods. Whether you’re working with a spacious garden or a modest balcony, Grow Peas with confidence using these guidelines. The journey from Pea planting to harvest offers a perfect introduction to vegetable gardening for beginners while still satisfying experienced gardeners. Why not start planning your pea patch today? Share your pea-growing successes in the comments below!
FAQs
Why are my pea plants turning yellow?
Yellowing pea plants typically indicate overwatering, nutrient deficiency, or root disease. Ensure proper drainage and consider a soil test to determine if amendments are needed.
Can I grow peas in partial shade?
Yes, peas can tolerate partial shade, especially in warmer climates where afternoon shade may actually extend their growing season by keeping them cooler.
Do I need to fertilize my pea plants?
Peas generally need minimal fertilization as they fix their own nitrogen. A balanced organic fertilizer applied at planting time is usually sufficient.
How do I know when my peas are ready to harvest?
Snap and snow peas should be harvested when pods are firm and crisp but before seeds fully develop. Shell peas should be picked when pods are plump but still bright green.
Can I save seeds from my pea plants for next season?
Yes! Allow some pods to fully mature on the plant until they’re dry and brown, then collect, dry completely, and store in a cool, dry place for next season’s planting.