7 Simple Leaf Mulch DIY Tips
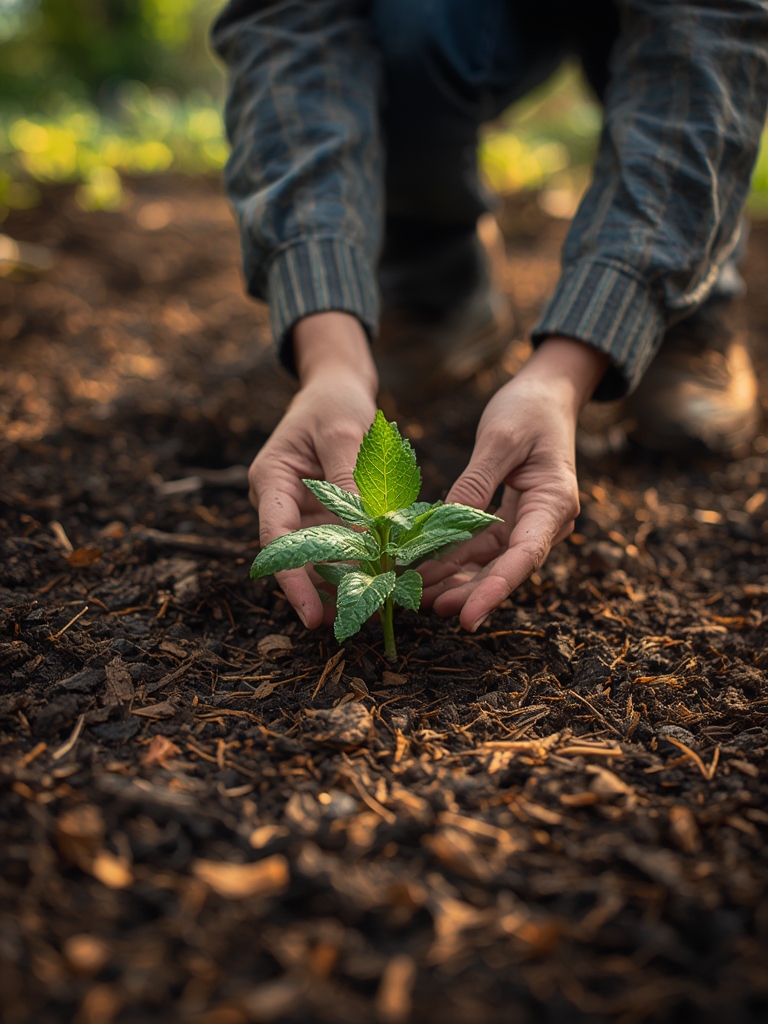
Ever wondered how to transform your fall leaf cleanup into garden gold? Creating Leaf Mulch at home is not only economical but also an eco-friendly way to enrich your garden soil naturally. Instead of bagging leaves for the landfill, you can recycle this valuable organic material to nourish your plants and improve soil structure.
Table of Contents
The process of making Garden Mulch from fallen leaves is surprisingly simple and requires minimal investment. By the end of this guide, you’ll have all the knowledge needed to turn those autumn leaves into a garden resource that professional landscapers pay good money for. Let’s dive into this sustainable gardening practice that benefits both your plants and the planet.

Materials & Supplies
- Rake or leaf blower
- Lawnmower with collection bag (optional)
- Leaf shredder (optional but helpful)
- Pitchfork or garden fork
- Tarp or dedicated space for leaf pile
- Garden gloves
- Watering can or hose
- Compost activator (optional)
- Wire mesh or wooden pallets (for containing the pile)
- Wheelbarrow (for transporting finished mulch)
Timing / Growing Schedule
Leaf collection season typically runs from September through November in most regions, depending on your climate zone. The decomposition process for leaf mulch takes approximately 3-6 months for partial breakdown and 6-12 months for completely finished leaf mold. Starting your leaf collection in fall means you’ll have usable mulch by late spring or early summer—just in time for the growing season when plants need protection from heat and moisture retention the most.

Step-by-Step Instructions
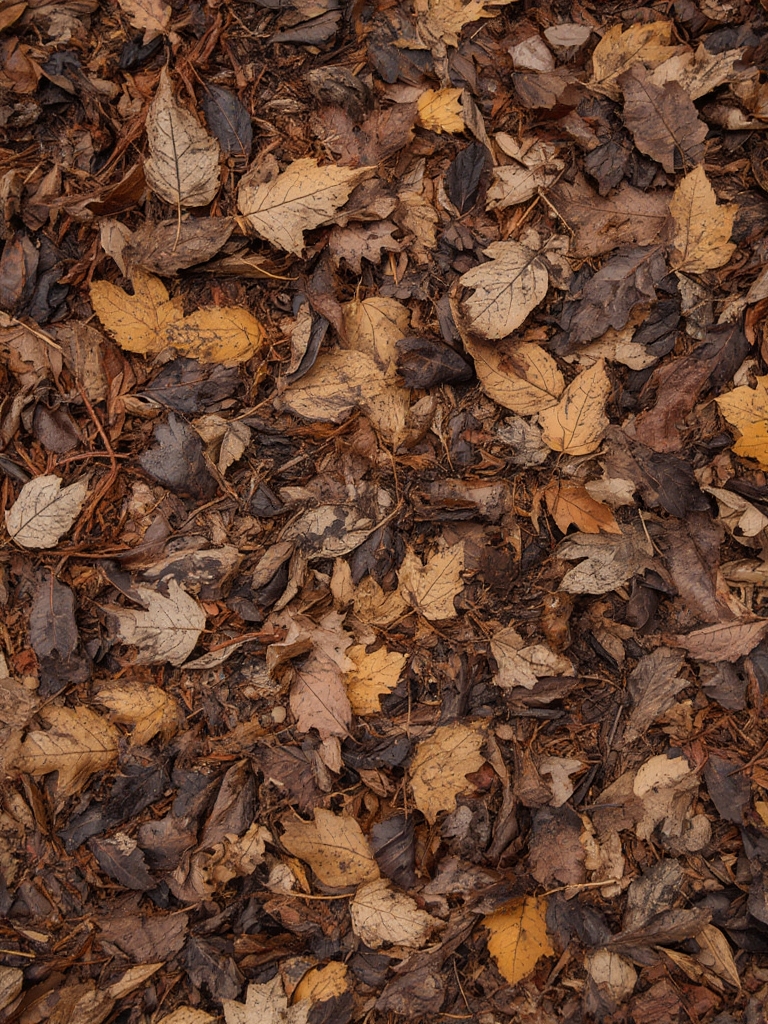
Collect fallen leaves: Rake or blow leaves into manageable piles. Focus on collecting maple, oak, and beech leaves as they break down well. Avoid black walnut leaves as they contain juglone, which can inhibit plant growth.
Shred the leaves: Run over leaf piles with a lawnmower or use a dedicated leaf shredder. Shredded leaves decompose much faster than whole leaves and make more effective Leaf Mulch.
Create your mulch pile: Choose a location that’s partially shaded and protected from strong winds. Layer your shredded leaves to a height of 3-4 feet.
Add moisture: Dampen the pile with a hose or watering can. The leaves should be moist like a wrung-out sponge, not soggy.
Turn the pile: Every 2-3 weeks, use a garden fork to turn the pile, bringing outside materials to the center. This accelerates decomposition by introducing oxygen.
Apply finished mulch: Once decomposed, spread a 2-3 inch layer around plants, keeping it a few inches away from stems and trunks to prevent rot and pest problems.
Benefits / Advantages
- Improves soil structure and drainage
- Conserves soil moisture, reducing watering needs by up to 30%
- Suppresses weeds naturally
- Moderates soil temperature in both hot and cold weather
- Provides habitat for beneficial organisms like earthworms
- Adds organic matter and nutrients as it decomposes
- Zero-cost alternative to store-bought mulches
- Reduces waste in landfills and lowers carbon footprint
- Prevents soil erosion and compaction
Tips, Alternative Methods, or Gardening Advice
- Combine leaves with grass clippings (in moderation) to add nitrogen and speed decomposition
- For acid-loving plants like blueberries and azaleas, use oak leaf mulch specifically
- Create leaf mold by storing dampened leaves in black plastic bags with air holes for 1-2 years
- Use a leaf vacuum with a shredding function to collect and process leaves simultaneously
- In small gardens, store shredded leaves in compost bins or wire cages instead of loose piles
- Consider leaf sharing programs with neighbors who may have excess leaves
Common Mistakes to Avoid
- Using unshredded leaves: Whole leaves can mat together, creating a water-repellent barrier. Always shred leaves first.
- Applying too thick a layer: More than 4 inches can restrict water and air flow to the soil. Stick to 2-3 inches.
- Mixing in diseased leaves: Leaves showing signs of disease should be disposed of separately to prevent spreading problems.
- Forgetting to moisten the pile: Dry leaves won’t decompose properly. Maintain consistent moisture.
- Ignoring the carbon-nitrogen ratio: A pile of leaves alone (high carbon) decomposes slowly. Adding some nitrogen source speeds the process.
Maintenance Tips
Keep your leaf mulch pile moist during dry periods. In wet seasons, cover with a tarp to prevent excessive soaking. Replenish Garden Mulch around plants as it decomposes, typically once per year. For vegetable gardens, top up the mulch after each harvest. Remove any weeds that manage to push through before they set seed. In winter, you can add a slightly thicker layer around perennials and shrubs for extra protection.
Conclusion
Creating your own Leaf Mulch transforms a seasonal chore into a valuable gardening resource. This simple practice connects you to the natural cycles of your garden while providing numerous benefits for your plants and soil. As you implement this sustainable gardening technique, you’ll notice improved plant health, reduced maintenance time, and the satisfaction of creating Garden Mulch from what many consider waste. Why not start collecting leaves this weekend? Your garden will thank you with lusher growth and better harvests in the seasons to come.
FAQs
How long does it take for leaf mulch to decompose completely?
Complete decomposition typically takes 6-12 months, though you can use partially decomposed leaf mulch after just 3-4 months.
Can I use leaves from any tree for mulch?
Most deciduous tree leaves work well, but avoid black walnut, eucalyptus, and camphor laurel leaves, which contain natural chemicals that can inhibit plant growth.
Will leaf mulch attract pests to my garden?
Properly managed leaf mulch shouldn’t attract pests. Keep it a few inches away from building foundations and plant stems to avoid creating habitats for unwanted visitors.
Can leaf mulch make soil too acidic?
While fresh leaves can be slightly acidic, composted leaf mulch typically has a neutral pH. Oak leaves are the most acidic and best used around acid-loving plants.
How do I store excess leaf mulch for future use?
Store extra leaf mulch in a dry, shaded area covered with a breathable material like burlap. Alternatively, use sealed bags or containers in a shed or garage.