Best way to grow Peas in 60 Days
Have you ever wondered how satisfying it would be to harvest your own fresh peas right from your garden? Grow Peas at home and experience the incomparable sweetness of freshly picked pods that store-bought varieties simply can’t match. This nutritious vegetable is not only delicious but also relatively easy to cultivate, making it perfect for both novice and experienced gardeners.
Table of Contents
Pea planting can be a rewarding experience that yields abundant harvests with minimal effort. These cool-weather crops thrive in spring and fall, enriching your soil with nitrogen while providing you with nutrient-dense food. Let’s explore how to successfully grow this versatile vegetable in your own garden space.
Materials & Supplies
To get started with your pea garden, you’ll need:
- Pea seeds (choose between snow peas, snap peas, or shelling varieties)
- Well-draining garden soil or potting mix
- Compost or organic matter for soil enrichment
- Trellis, netting, or stakes for climbing varieties (3-6 feet tall)
- Garden gloves and basic tools (trowel, rake, watering can)
- Mulch (straw or leaf compost works well)
- Inoculant (optional but beneficial for first-time pea growing)
- Garden labels to mark planting areas
- pH testing kit (peas prefer slightly acidic to neutral soil)
- Organic fertilizer (low in nitrogen)
Timing / Growing Schedule
Peas are cool-season crops with specific timing requirements:
- Planting time: 4-6 weeks before last spring frost or in late summer for fall harvest
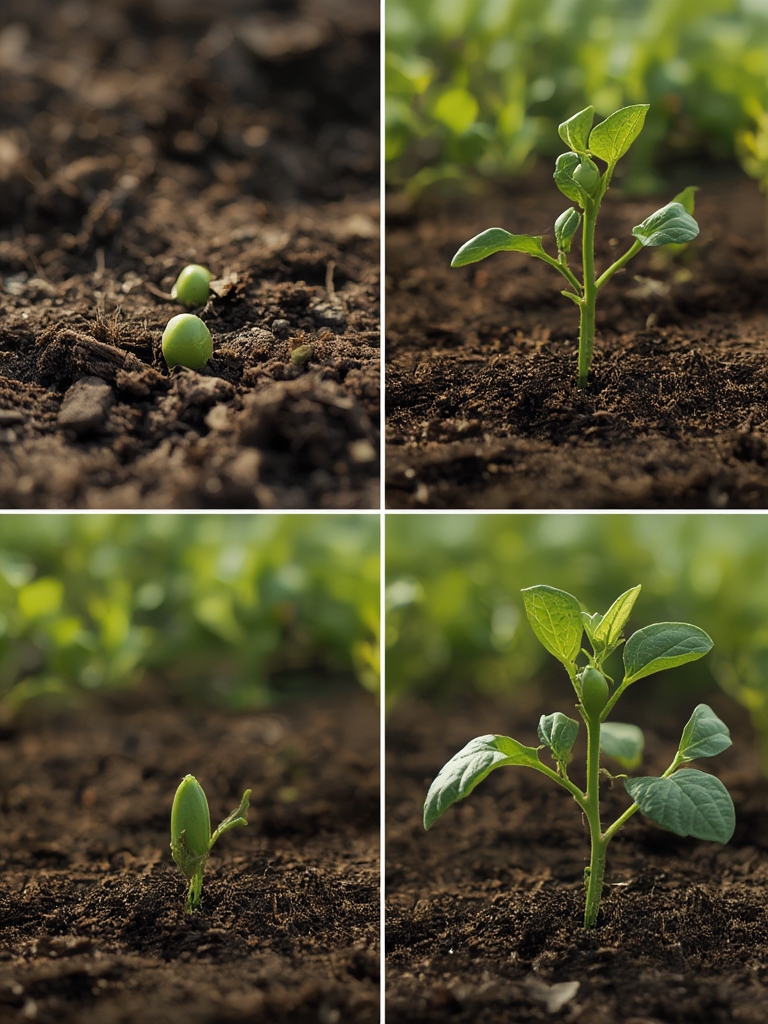
- Germination period: 7-14 days (soil temperature 45-75°F)
- Growth to maturity: 60-70 days for most varieties
- Harvest window: 3-4 weeks once pods begin forming
- Total growing season: Approximately 3 months from planting to final harvest
Plant in succession every 2-3 weeks for continuous harvests, but remember that pea production will slow significantly once temperatures exceed 75°F.
Step-by-Step Instructions

Prepare the soil: Work compost into your garden bed to a depth of 8-10 inches. Peas prefer well-draining, fertile soil with a pH of 6.0-7.5.
Install supports: Set up trellises or supports before planting to avoid disturbing roots later. Even bush varieties benefit from some support.
Treat seeds: For better germination, soak seeds overnight and apply inoculant if it’s your first time Grow Peas in that location.
Sow seeds: Plant seeds 1-2 inches deep and 2-3 inches apart in rows. For trellised varieties, place rows 3-4 feet apart.
Water gently: Keep soil evenly moist but not waterlogged during germination and early growth.
Apply mulch: Once seedlings reach 4-6 inches, add a layer of mulch to retain moisture and suppress weeds.
Train vines: Guide young vines onto supports as they grow to prevent tangling.
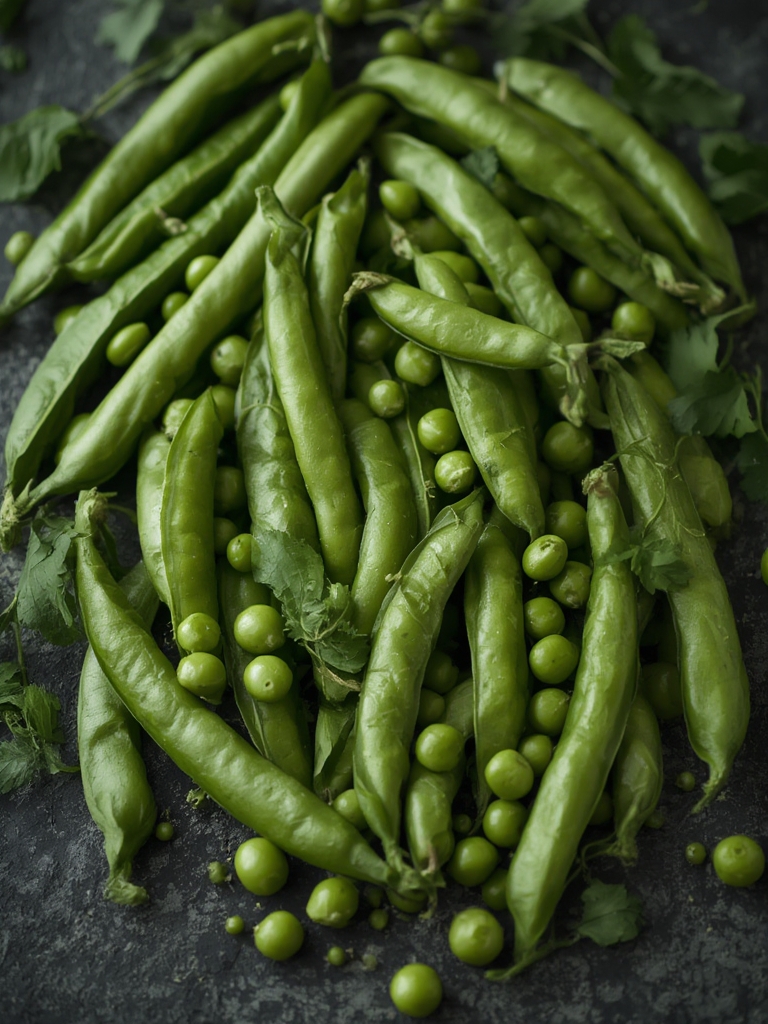
Harvest regularly: Pick pods when they’re plump but before they become tough – regular harvesting encourages continued production.
Benefits / Advantages
Growing peas offers numerous benefits:
- Soil improvement: Peas fix nitrogen in the soil, improving it for future crops
- Nutritional value: High in vitamins A, B, C, fiber, and plant-based protein
- Space efficiency: Vertical growing maximizes garden productivity
- Cost effectiveness: High yield per square foot compared to many vegetables
- Kid-friendly: Easy to grow and harvest, encouraging children to participate in gardening
- Versatility: Can be eaten fresh, frozen, or dried for year-round enjoyment
- Early harvest: One of the first vegetables ready for harvest in spring
Tips, Alternative Methods, or Gardening Advice
Adapt your Pea planting approach with these creative alternatives:
- Container growing: Choose dwarf varieties for balconies or patios using 12-inch deep containers
- Raised beds: Ideal for peas as soil warms earlier in spring, extending growing season
- Companion planting: Grow alongside radishes, carrots, cucumbers, or herbs like mint
- Intercropping: Plant lettuce or spinach between pea rows to maximize space usage
- Winter protection: Use cold frames or row covers to extend growing season
- Microgreens option: Harvest pea shoots as microgreens for early spring salads
- Three sisters approach: Traditional planting with corn (as support) and beans for garden diversity
Common Mistakes to Avoid
Watch out for these typical pea-growing pitfalls:
- Planting too late: Waiting until warm weather can result in poor germination and reduced yields
- Overcrowding: Plants need adequate spacing for air circulation to prevent disease
- Insufficient support: Flimsy trellises can collapse under the weight of mature plants
- Inconsistent watering: Erratic moisture leads to poor pod development and lower yields
- Overfertilizing: Too much nitrogen promotes lush foliage at the expense of pod production
- Late harvesting: Letting pods become overripe results in tough, starchy peas
- Ignoring pests: Early detection of aphids and pea weevils is crucial for effective control
Maintenance Tips
Keep your pea plants thriving with these maintenance practices:
- Watering needs: 1-1.5 inches per week, focusing on the root zone
- Weeding routine: Keep area weed-free, especially during early growth stages
- Pest monitoring: Check undersides of leaves for aphids weekly; use insecticidal soap if needed
- Disease prevention: Maintain good air circulation and avoid working with plants when wet
- End-of-season care: After harvest, cut plants at soil level leaving roots to decompose and release nitrogen
- Storing harvested peas: Refrigerate unwashed pods for up to 5 days or blanch and freeze for long-term storage
- Seed saving: Allow some pods to mature completely on the vine for next year’s planting
Conclusion
Growing peas at home connects you with the gardening tradition of generations while providing nutritious, delicious produce that far surpasses commercially available options. From the satisfaction of watching those first tendrils climb your trellis to the joy of harvesting sweet pods at their peak, Grow Peas offers rewards beyond measure. The process is accessible to gardeners of all experience levels, and the Pea planting techniques you’ve learned can be adapted to any space, from countryside plots to urban balconies. Why not start planning your pea garden today? Your soil, your table, and your taste buds will thank you!
FAQs
How many peas can I expect to harvest per plant?
Each pea plant typically produces 20-30 pods, yielding approximately 4-8 peas per pod depending on the variety. A 10-foot row can yield 2-4 pounds of peas.
Can I grow peas indoors?
Yes! Choose dwarf varieties, provide at least 6 hours of direct sunlight or grow light exposure, and ensure good air circulation. Container depth should be at least 12 inches for proper root development.
Why are my pea plants yellowing?
Yellowing can indicate overwatering, root rot, nitrogen deficiency, or heat stress. Check soil moisture levels first, then examine roots for signs of disease. If plants are healthy but yellow, they may be suffering from nutrient issues.
Do peas need crop rotation?
Yes, rotate pea crops every 3-4 years to prevent soil-borne diseases. Avoid planting where other legumes (beans, lentils) have recently grown, and consider following peas with heavy feeders like corn or cabbage.
Can I plant peas in the same spot where I grew tomatoes last year?
Absolutely! This is actually ideal since tomatoes and peas have different nutrient needs and pest profiles. Tomatoes deplete nitrogen while peas restore it, making them excellent rotation partners.